Configuring a Qubole Spark Cluster
Prerequisites
Contact Qubole Support to enable hadoop2.use_hadoop28 flag for your account. This flag enables Hadoop 2.8
for all the cluster, by default. To contact Qubole Support team, click the Help icon on the top-right corner of the
Submit Support Ticket. For more information, see Using the QDS Help Center.
You can also call us at (855) 423-6674 and select option 2.
Configuring a Spark Cluster
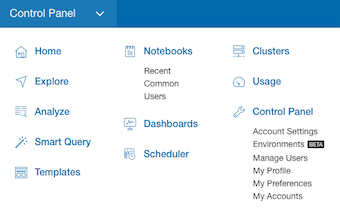
Navigate to the QDS UI > Control Panel.
In the Control Panel, select Environments. The Environments tab is displayed.
Click New to add a new environment.
Enter the Name and Description for the new environment and click Create.

Attach the Spark cluster that is used with SageMaker. Wait for the status to change to Active.

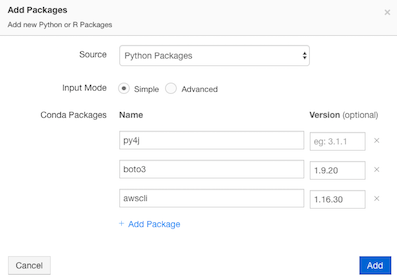
Click Add to add a python package for the created environment.
Select the Source as Python Packages and rename the python packages as mentioned below:
- py4j
- boto3 version 1.9.20 or later
- awscli version 1.16.30 or later
- sagemaker_pyspark
Here is an illustrated example.
Click Add and wait for the status to become Installed.

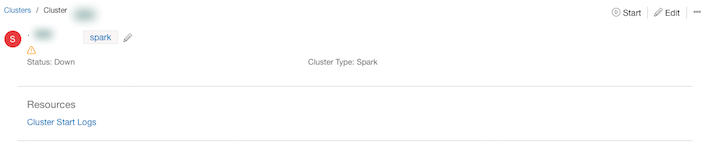
Click the Clusters drop-down list located at the top-right corner of the Qubole UI and select Spark cluster to run the Spark jobs.
On the cluster details page, click Edit.
Enter the filename in the Node Bootstrap File field, as shown below:

Click Update.
On the Clusters page, click “…” at the top-right corner and select Edit Node Bootstrap.
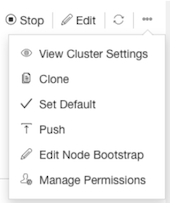
Copy and paste the code specified under Appendix 1: BootStrap Script in this document and click Save. The bootstrap downloads
aws-java-sdk-core-1.11.288.jarjar required for AWS SageMaker, sets the AWS credentials in/home/yarn/.aws/credentialsfile, and starts Livy Server on Spark cluster to allow SageMaker Notebook use it.Click Run to start the cluster.
You have successfully configured your Qubole Spark cluster.